This is the ARIA PRO II guitar I bought at a second-hand shop in Tokyo, Japan in January 2013 for what I remember as a reasonable $70US. I had nearly zero instrument repair/refinishing experience. I researched what I thought I needed to be done one the Interwebs/YouTube and went from there. This is my second instrument re-paint (happening almost concurrently with the PEAVEY PATRIOT digi-camo guitar). I had no shop, just our dining room table and back porch.


Licensed Floyd Rose built by Takeuchi. Killer Guitar Components makes a replacement arm as well as a brass sustain block that I highly recommend.


And she's apart. Horrible purple/pink paint scheme but other than that not bad.


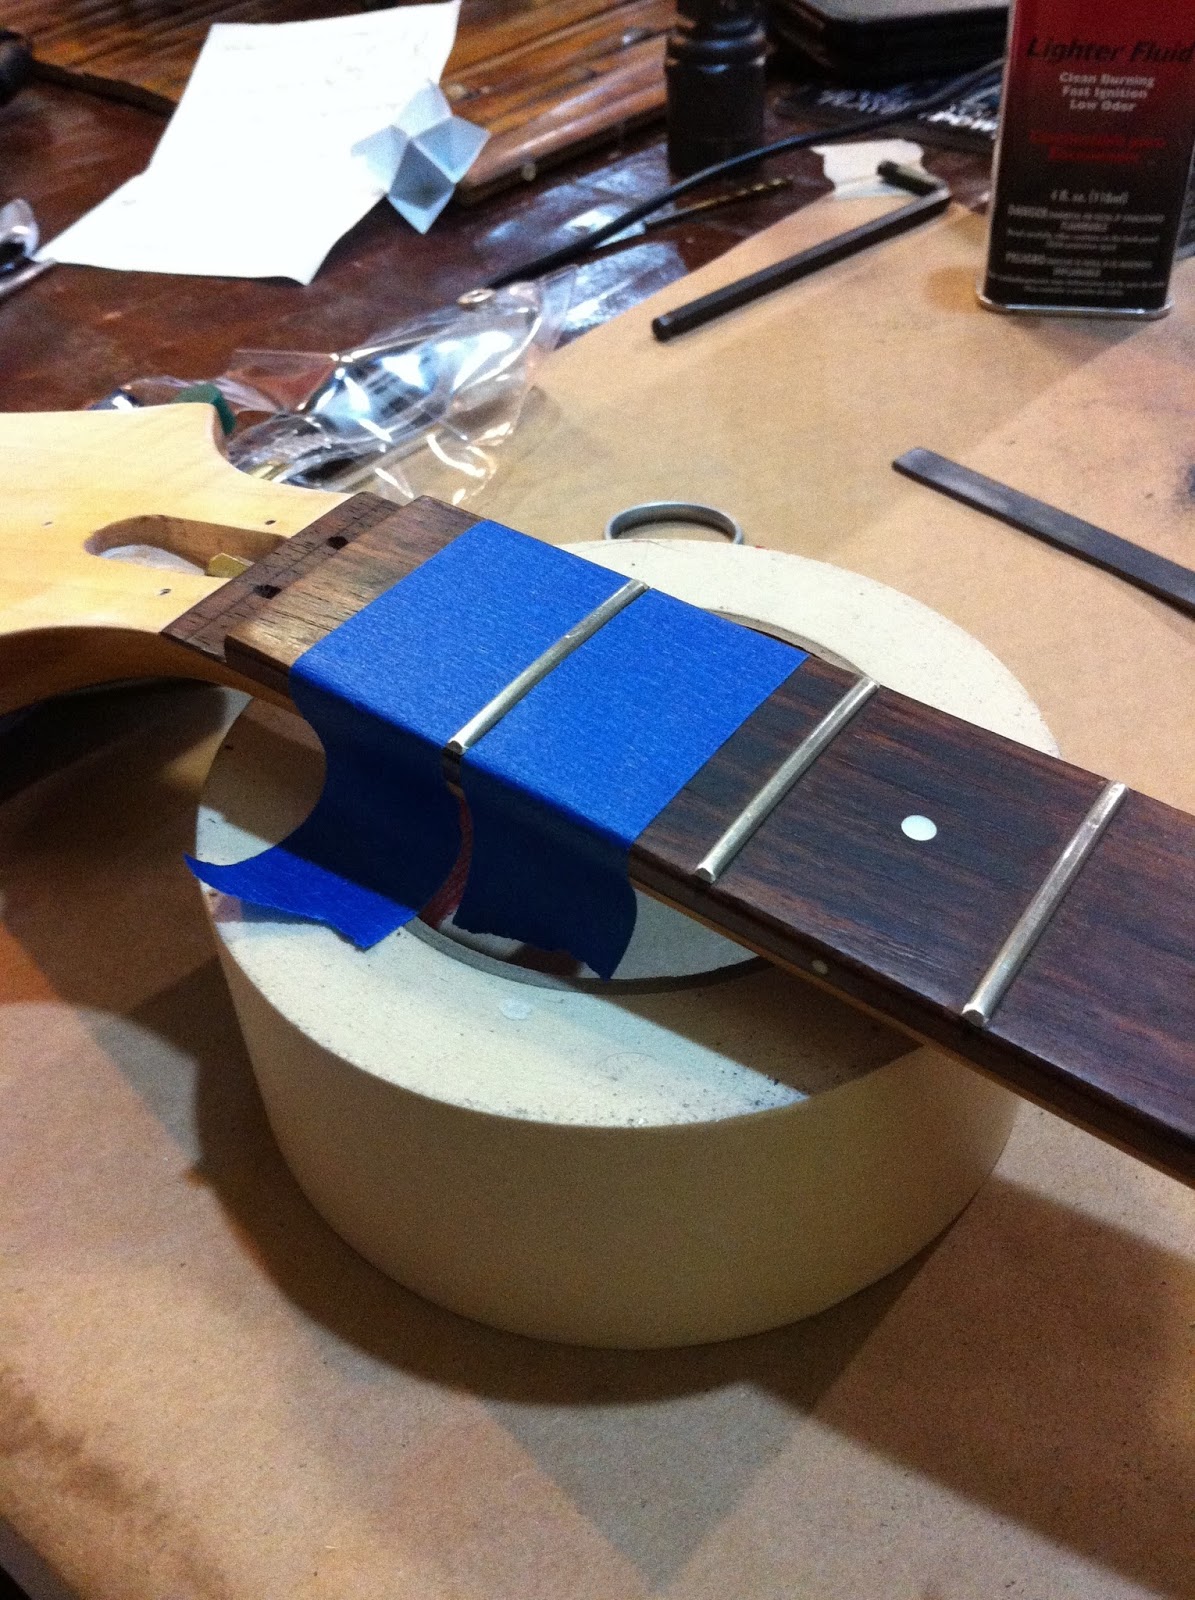
Nice rosewood fingerboard, frets are in nice shape.


Bit of a ding with something round.


Clear coat, pink highlight, purple base coat, silverish primer, sealer, wood.


Please remember to loosen your string tension when adjusting your bridge.

Note broken foot off of the string retainer block.

Built-in radius on the individual parts.


The following photos are from February-April 2013. After that we packed up everything we owned and moved from Japan to California.

Guitars are painted (usually) because they save the really pretty wood for clear finishes.


New brass sustain block. Quite a difference from the zinc stock block.


Back together before it gets taken back apart for paint.

Primer: unsatisfied with the selection of paint on the base (I found automotive primer) I ventured into the wilds of Tokyo to try and find some automotive paint to use. After stumbling through the clunky exchange of English ~> Japanese ~> English I was given this paint which was "white" and actually turned out to be "silver" but there are no returns in Japan so you go with what you have.


My first layer of "white" that is silver. I later had one of my local friends accompany me to the store and we found the REAL color white.


A little orange peel, please. Coats were often days between happening because of the humid conditions in Japan and a ladder on the porch was my spray booth.


I photocopied the headstock and used it as the basis to make my own decals.


The polishing kit I used to work on the guitar during the final stages of wet sanding/polishing.


Earthquake damage. Not really, it fell from wire stuck into the A/C vent it was hanging from.


Panic mode Alpha as I get some weird striations in the clear coat that I'm dusting on after applying the decal. Maybe a result of the Solv-a-set I used????


End result of the wet sanding / polishing process.


Everything we own goes into crates and shipped from Japan to California at this point. I found the old Fender case in the same shop as the guitar, paid maybe $25???

Everything arrived showing no signs of damage from being in-transit for 90+ days.


Now that the base color is complete I can start to design the sakura (cherry blossom) graphic I want to apply.


A good friend of mine in Japan found the strap material from an old obi (the fabric belt for a kimono).

Will post additional photos as they're discovered. The majority of effort went from photos to video at this point. You can access this guitar's playlist here.
I hope you have enjoyed learning about my second guitar painting experience. If I could offer you any advise it would be this:
- Find someone you trust to help you search for supplies in a foreign country.
- When things don't go the way you've planned, look at it as a chance to learn AND adapt.
- Step out of your comfort zone. I'm a Les Paul-humbucker-Tune-o-Matic kind of guy so a Strat-single coil-whammy project was way out of my happy place.
- Don't be shy in asking for help. There are many people who will gladly lend a hand (or an e-mail) to get you headed the right direction.
- Have fun. If you are doing this as a hobby and are miserable, forget about doing it for a living. Life is too short to spend time doing something you hate.
If you want to see more of my adventures in the world of stringed instrument construction, restoration, and repair visit the Rattlecan Guitar Restorations YouTube channel, friend us on Facebook, Twitter and Instagram pages and, if you're interested in supporting my projects take a look at the Rattlecan Patreon page.
Have a great weekend. Cheers!
James
No comments:
Post a Comment