


TKL case, the pickguard, and the original paperwork. Bonus.


A little bit of rusty spooge on the pickups. Frets looked good.


Reptar likes the case, it contrasts nicely with his with his eyes.


Scratch on the body but other than that it looks good from the nut down.


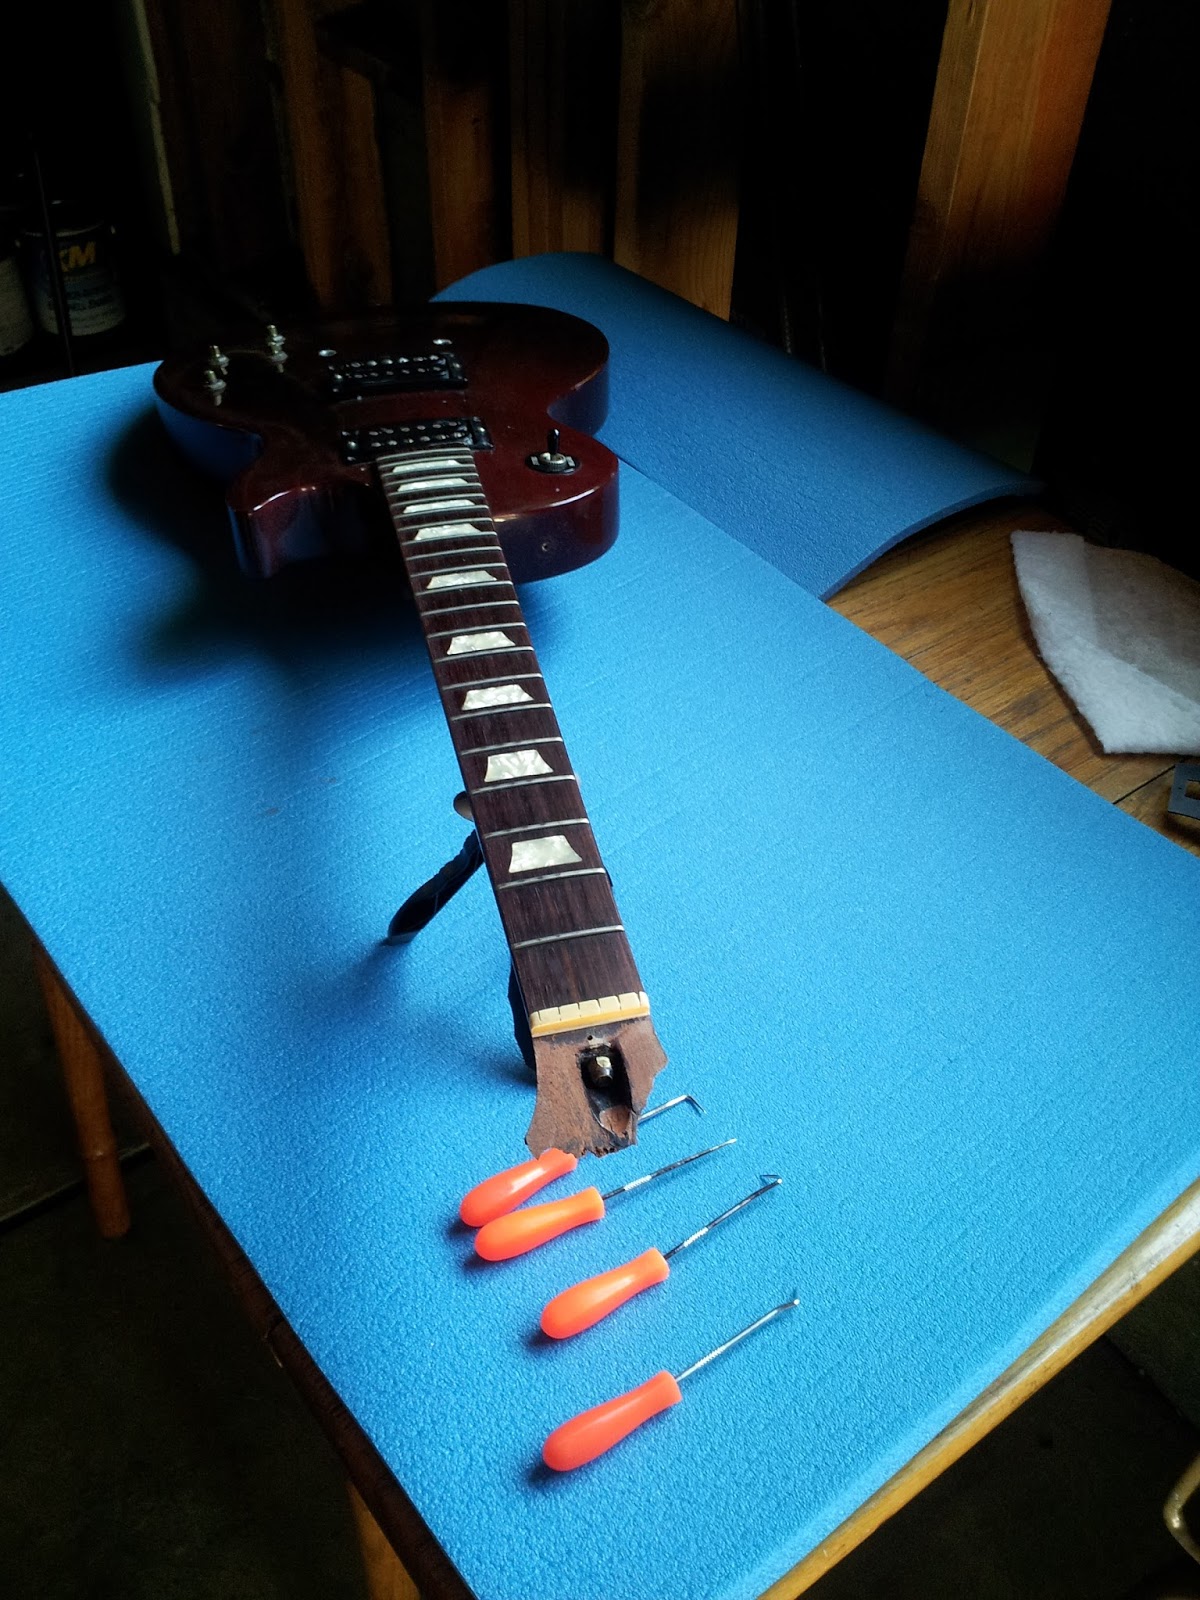
Let's look at the ugly. Pretty common break on a Gibson, previously fixed and failing. Again. And what is that silly little hole all about?


There appears to be something down there. Great. Maybe a pin bearing?


Some forces at work that make me sad.


Electronics as they were received. Not sure if this was a standard soldering job for Gibson in the '90s.


Some more shots of the neck fracture where you can see how shattered it is.


Well, screw it. Let's pull it apart and see if it can be put back together without cutting the head off in a scarf-esque style. $1-2 dollar espresso maker masquerading as a steam machine.


Yep. Looks like some sort of ?graphite? pin bearing. Except that graphite is pretty slippery. *sigh*


Officially one of the top entries in my WTF book of instrument repair.


Urethane glue or some ilk in the joint...all over the place. Dental pick and a lot of time to get it out.

Two pizza stones warmed in the over make a great device to flatten the curled head stock overlay.


Gluing the cracks in the stump before we read an all-too-familiar line...

And then we packed it away and moved from Japan to California.

New shop in California, time to get the rest of the glue out of the joint.

This was the apparatus I used to clamp the head stock to the stump and and pull it INTO the stump at the same time. I'm sure there's a much more elegant solution but this was what came to mind with the supplies I had on-hand.


Well, it seemed to work!


Let's replicate the head stock with a homemade 3-ply material made from veneer strips.


If you watch the video where I do this, prepare to scream at the screen something along the lines of "Put a backer block so you don't blow out the drilling hole your dill hole!!!"


This is where we switched over to video (decal application as well as clear coat/wet sanding).


We transitioned over to video at this point (mostly). You can access this guitar's playlist here.
I hope you have enjoyed learning about my first "real" guitar repair experience. If I could offer you any advise it would be this:
- Read, watch videos, learn as much as you can. This repair made me learn about adhesives, grain structure of single-piece vs. scarf joint necks, and working with steam. It's hard to research too much for something like this.
- Be patient. Old glue won't stick to old glue (unless it's hide glue) so expect to spend a LOT of time digging out little flecks of glue.
- Don't be afraid to step out of your comfort zone. I had absolutely ZERO experience doing a repair like this. If I screwed up joining the two pieces together I could always go with splines or even a scarf-joint replacement head. If I screwed THAT up I could get another neck and replace it. If THAT went awry I still have a maple/mahogany Les Paul body to do something with.
- Don't be shy in asking for help. There are many people who will gladly lend a hand (or an e-mail) to get you headed the right direction.
- Have fun. If you are doing this as a hobby and are miserable, forget about doing it for a living. Life is too short to spend time doing something you hate.
If you want to see more of my adventures in the world of stringed instrument construction, restoration, and repair visit the Rattlecan Guitar Restorations YouTube channel, friend us on Facebook, Twitter and Instagram pages and, if you're interested in supporting my projects take a look at the Rattlecan Patreon page.
Have a great weekend. Cheers!
James
No comments:
Post a Comment